Two-zone grilling offers many advantages. This grilling technique allows you to control both the indirect and direct heat zones. Indirect heat is for cooking meat at a lower temp and is ideal for slow-cooking smaller foods. These two zones allow for flexibility and flavor enhancement. This grilling technique will allow you to create the perfect family dinner. After the meat is cooked, you can slow-cook it in the indirect zone.
Two-zone grills allow you to control the temperature in each area of the fire. When cooking, ensure that the coals are evenly distributed. The coals will heat unevenly if they aren't evenly distributed. The hot area should be at the end of cooking, while the indirect should be at the beginning. The two zones should be placed parallel so that they achieve the best results.
Two zone grilling offers many advantages. Two-zone grilling allows you to prepare many types of food from one space. It is possible to sear meat on one side and quickly transfer it to indirect side for cooking. This method can also be used to smoke without the use of a smoker. However, it requires more time to cook safely. A two-zone grill will be a great choice for beginners, and will help you achieve great results every time.
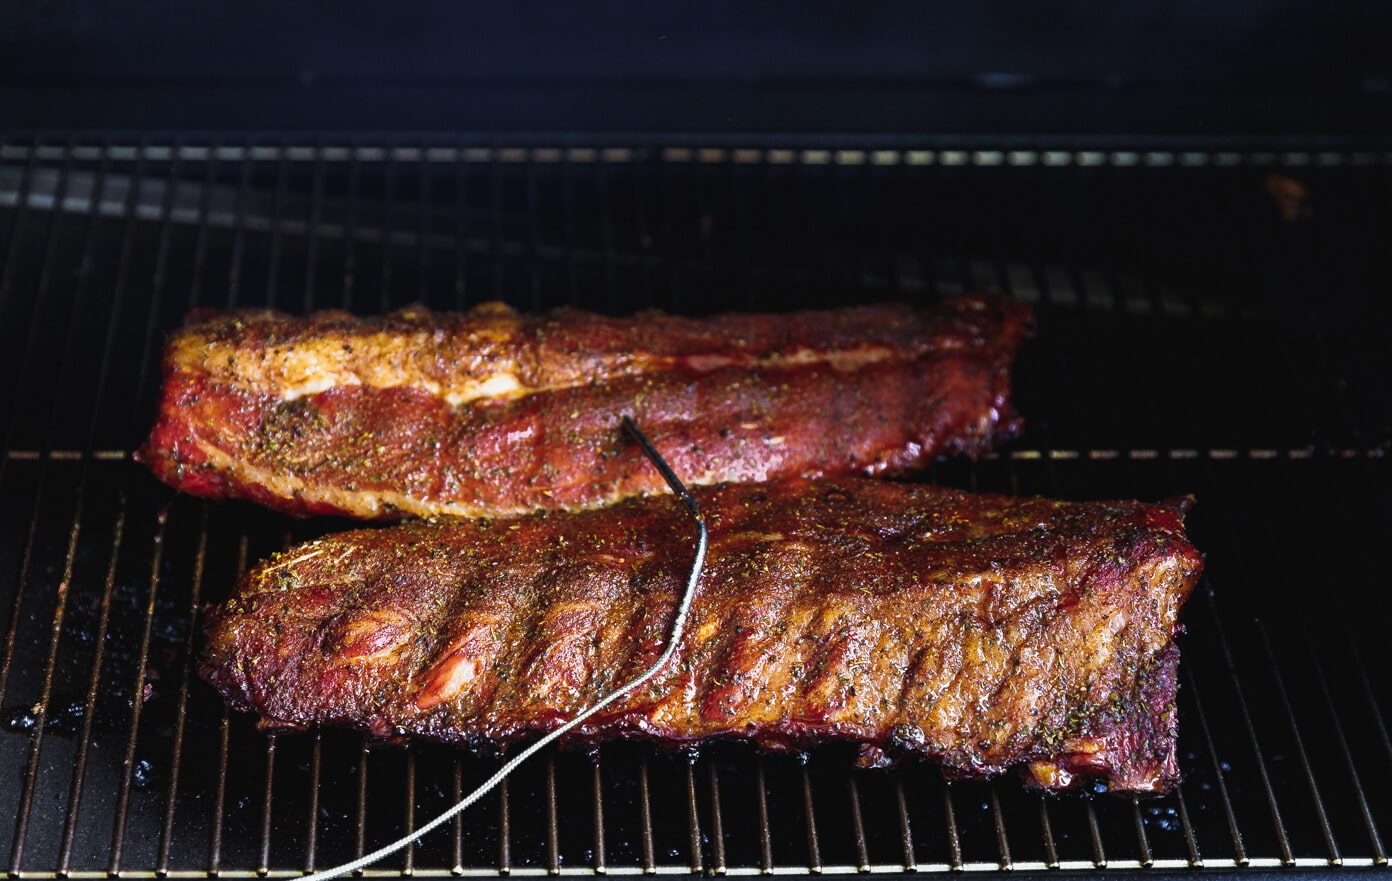
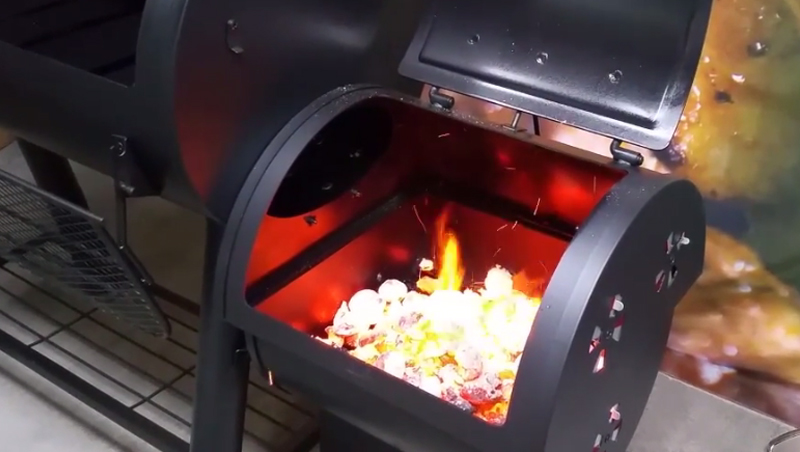
Indirect heat allows you to cook food at a slower temperature. This is a great way to cook steaks and chicken breasts. The charcoal chimney is great for cooking on only one side of a grill. The coal heating can be assisted by the airflow at the bottom. You also have the ability to control where the coals are placed. Two zones are the best for creating a consistent and delicious meal. If you grill outdoors, don’t forget to take your digital thermometer with you!
Two zone grilling offers the main advantage of being able to create different cooking zones. The indirect heat zone can be used for intense cooking, while the direct heat zone is perfect for marking and searing. The indirect heat zone also provides a cool area to finish cooking. For beginners, indirect heat zones are the best option. You can also try two-zone grilling. To learn more, you can start with easy foods if this is your first time trying it.
There are many advantages to two-zone cooking. Two zones can be used to cook virtually any dish. You won't have fish fall apart if you use two zones. If you're looking for an ideal way to cook your meals, two zone cooking is the way to go. The two zones on your grill will keep your food at the ideal temperature for the right flavor. The best two zone grilling methods use indirect heat.
FAQ
Can I learn to cook with my kids?
Yes! Yes, kids love to help in kitchen. It's an enjoyable activity that teaches responsibility and teamwork. Children can help in everything, from washing vegetables and cutting onions. You will have your children enjoy helping you cook as long as they follow safe procedures when using knives.
Do I require any special equipment?
To learn to cook, you don’t need to have any special equipment. The best tools will make cooking more enjoyable. For example, you could use a knife instead of a fork to eat pasta or a whisk instead of a hand mixer to whip egg whites into stiff peaks. It makes cooking much easier and quicker.
How much does it cost to study Culinary Arts?
There are many factors that influence the cost of learning culinary arts. For example, a four-year degree typically costs around $40,000. On the other hand, a two-year associate's degree may cost less than $5,000. The tuition rate you choose depends on the program. Public institutions are more expensive than private institutions.
Statistics
- You'll be amazed that over 90% of CIA students receive scholarships and grants to finish their culinary studies. (ischoolconnect.com)
- under 10 Kids have been taught that there is special food just for them, and Fiese says that 10 percent of kids will throw a tantrum if they don't get the food they want. (washingtonpost.com)
- According to the BLS, chefs earn $58,740 a year. (learnhowtobecome.org)
External Links
How To
How to make an omelet that is perfect
Omelets have always been a favourite food to eat for breakfast. But how do you make them perfectly? I have tried many different recipes and methods, but none of them work. So I am sharing some tips and tricks today to help you make fluffy, delicious omelets every morning.
When making omelets, it is important to be aware that eggs can be temperamental. You must get them fresh, organically, and keep them cold until you cook. If you don't keep them cold enough, the whites won't form properly, and the yolks will break down too much and become runny. This will make your omelets appear strangely colored. If you're going to cook them immediately, it is best if the eggs are still warm.
Another tip is to separate the egg before adding it to the pan. You don't want the white to get mixed with the yolk, as this could cause the egg to curdle.
The bottom part of an egg that is added directly to the stovetop might be burned, which could cause a ruined texture in your omelet. Instead, place the egg in the microwave for 10 second before you put it in the skillet. The heat from the microwave cooks the egg just enough without overcooking it.
Next, let's discuss mixing the eggs. When you mix eggs together, you want to beat them well. You can do this by turning the bowl of your mixer upside down. Next, shake the bowl vigorously. By doing this, the egg is thoroughly mixed with the air in the bowl.
Now comes the fun part: adding the milk to your mixture. Pour half the milk into the beaten egg mixture and then fold in the eggs. Do not be alarmed if there are still egg streaks visible. Once the omelet flips, these streaks will disappear.
After you have folded the eggs, heat the oil in a pan over medium heat. Once the oil has started to sizzle, turn the heat down to low. Once the oil begins to heat, add 1/4 cup butter and swirl the pan to coat it. Open the lid and sprinkle salt on the pan. A pinch of salt will help prevent the omelet from sticking to the pan.
Once the omelet forms, cover the pan again. Let the top side set completely. Flip the omelet upside down or with a spatula. Cook the other side for about a minute. Serve the omelet immediately by removing it from the pan.
This recipe is best made with whole milk. However, it can also be used with skimmed milk.